- CALL : (+91) 95443 09166
- Support : (+91) 95443 09166
- Email Validation Email Validation Plugin
- Sep 17
- 2 mins read
How to install Antideo Email Validation WordPress Plugin manually on your WordPress site
The Antideo plugin for WordPress can be installed from the WordPress dashboard directly and is the easiest of the methods for setting up our Email Validation Plugin for WordPress. But there are more tech savvy users who like to be in total control and install plugin themselves, and this article is a step by step guide for such users.
Step by step guide for Antideo Email validator Plugin Installation
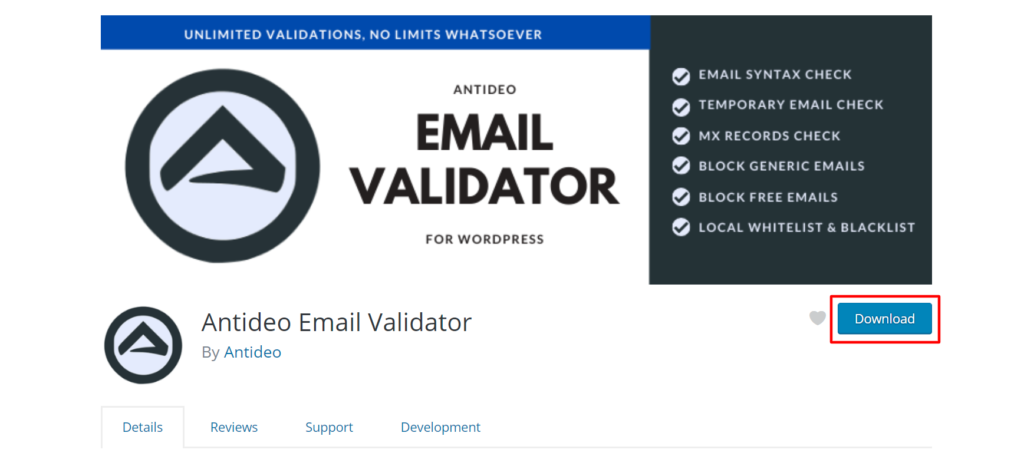
Go to the Antideo plugin page
You can go to our email validator plugin page on wordpress.org that is a directory for WordPress plugins.
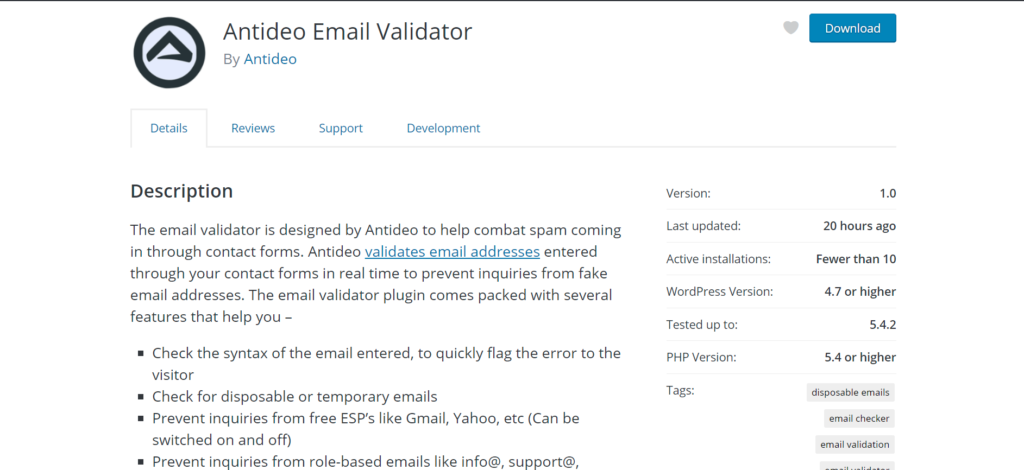
Click on the blue button to download the ZIP file of the plugin to your computer
Unzipping Files and Setting things up
Since you have downloaded the zipped plugin files you would need to unzip them to start with the installation process. Most of the computer operating systems would have inbuilt capabilities to unzip files.Once you are done unzipping the files extract the directory from the plugin and put it in an easy to access directory on your computer.
Upload and Installation
Now you need to connect via FTP to your server to access the WordPress files. If you experience any roadblocks during the process, you can reach out to your hosting provider or access FTP for beginners for basic steps around enabling FTP or troubleshooting.
Once you have the FTP access you need to get into the wp-content folder that would be within your WordPress installation. The location of your WordPress installation would be different depending on the hosting provider you use. Would be ideal that you go through their help literature to identify the steps to access the WordPress installation, before you get into your server using FTP
Within the wp-content folder you will find another folder called plugins that houses all of the plugins on your WordPress site. Upload the unzipped Antideo folder in the plugins folder on the server.
Activating Antideo WordPress plugin
Login to your WordPress admin dashboard the usual way and see if the plugin you just uploaded appears in your plugin area when you click on plugins under the admin menu.
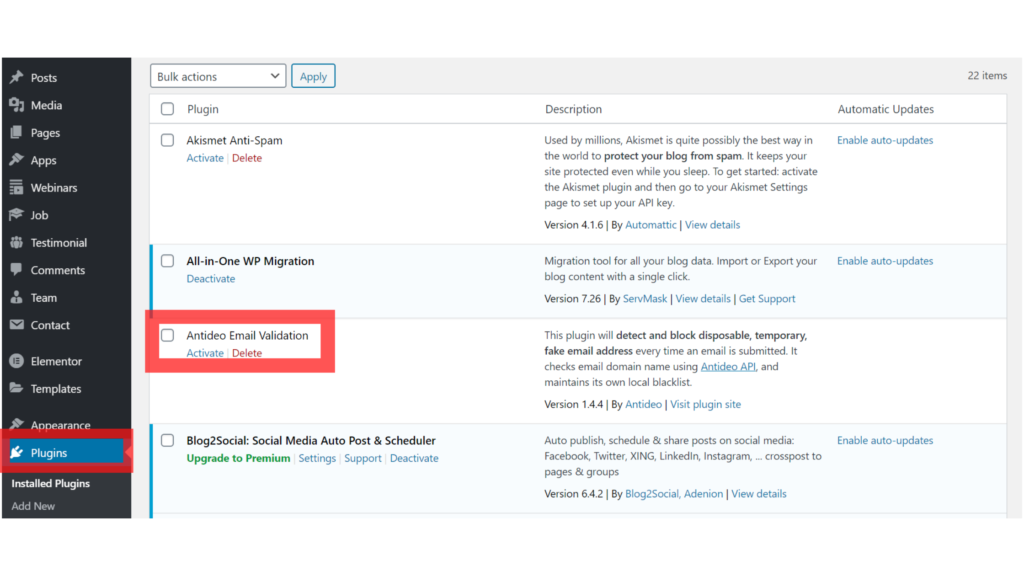
The next step in the process to install the Antideo plugin would be to click on ‘Activate’ to get the plugin activated and rolling. Do remember to go through the settings page to see what capabilities of the email validation plugin you would like to utilize.
You can also read Antideo Email Validation WordPress Plugin Explained to discover what the terms within the Antideo plugin dashboard mean and the options available.
Related Posts
Antideo’s API Streamlines Identity Verification Processes
Introduction In today’s digital landscape, businesses increasingly face challenges in verifying customer identities and ensuring secure transactions. Manual identity verification processes consume time, prone to errors, and compromise customer experience. Antideo’s API integration optimizes identity…
- Sep 28
- 2 mins read
Reverse Email Lookup for Uncovering Potential Scams and Fraud
In today’s digital age, individuals and businesses rely on email as an essential communication tool. However, email scams and frauds have become more prevalent. These fraudulent activities can cause significant financial damage and loss of…
- Jul 15
- 2 mins read
Comment (1)
How an Email Validation Plugin for WordPress can ensure a cleaner List - Antideo
Sep 25, 2020[…] How to manually install the Antideo Email Validator plugin for WordPress […]